DIY TV Mounting Tips and Tricks

Title: DIY TV Mounting Tips and Tricks
Mounting a TV on the wall can be a rewarding DIY project that not only saves space but also gives your room a sleek and modern look. While it might seem intimidating at first, with the right tools and a little guidance, you can successfully mount your TV on your own. In this comprehensive guide, we'll provide you with a step-by-step approach and valuable tips to ensure a smooth and secure DIY TV mounting experience.
1. Gather the Right Tools and Equipment:
Before you begin, make sure you have all the necessary tools and equipment at hand:
- TV mount kit
- Stud finder
- Level
- Screwdriver or drill
- Measuring tape
- Pencil
- Anchors (if mounting on drywall)
- Cable management clips
- Bolts and washers (included in TV mount kit)
- Safety gear (gloves, safety goggles)
2. Choose the Perfect Spot:
Identify the optimal wall for mounting your TV. Look for a spot that offers a comfortable viewing angle, minimal glare, and easy access to power outlets. Also, make sure the wall can support the weight of your TV and the mount.
3. Locate Wall Studs:
Using a stud finder, locate the wall studs. These are essential for a secure TV installation. Most mounts are designed to be attached to studs. Mark the center of each stud with a pencil.
4. Assemble the TV Mount:
Carefully read the instructions provided with your TV mount kit. Different mounts have varying assembly procedures. Make sure all the components are included and correctly assembled before proceeding.
5. Measure and Mark:
Using a measuring tape and level, mark the desired height on the wall where you want to mount the TV. Double-check the measurements to ensure accuracy.
6. Drill Pilot Holes:
Drill pilot holes into the marked spots on the wall where the mount will be attached. These holes will guide the screws into the wall studs.
7. Attach the Mount:
With the help of a friend or family member, hold the mount against the wall, aligning the pilot holes with the wall studs. Secure the mount to the wall by driving screws through the pilot holes.
8. Mount the TV:
Attach the TV bracket to the back of your TV, following the instructions in your TV mount kit. Then, carefully lift the TV and hook it onto the mount on the wall. Make sure it's securely in place.
9. Cable Management:
Use cable management clips or channels to route and hide the cables neatly. This not only keeps your setup organized but also adds to the aesthetics.
10. Test and Adjust:
After mounting the TV, test its stability by gently nudging it. If it's secure, use the level to make any necessary adjustments to ensure the TV is straight and level.
11. Final Checks:
Inspect your work, ensuring the TV is securely mounted and all cables are properly managed. Stand back and admire your handiwork!
Conclusion:
Mounting your TV on the wall can be a satisfying and cost-effective DIY project. By following these step-by-step tips and tricks, you'll not only achieve a professional-looking setup but also enjoy your favorite shows and movies from the perfect vantage point. Remember, patience and attention to detail are key to a successful TV mounting experience. With the right tools, a steady hand, and a dash of confidence, you'll transform your living space into an entertainment oasis.
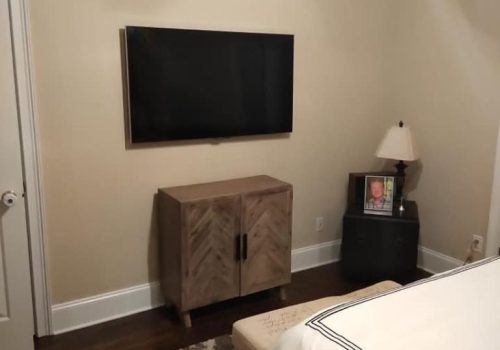
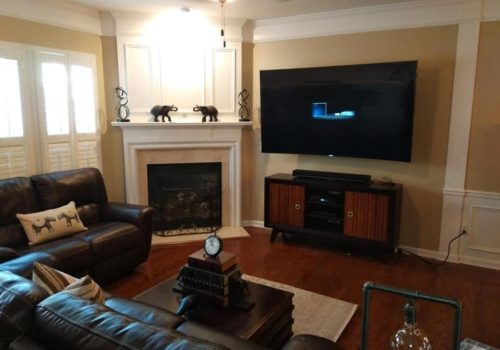
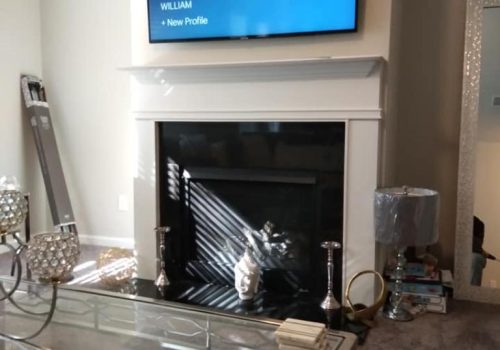
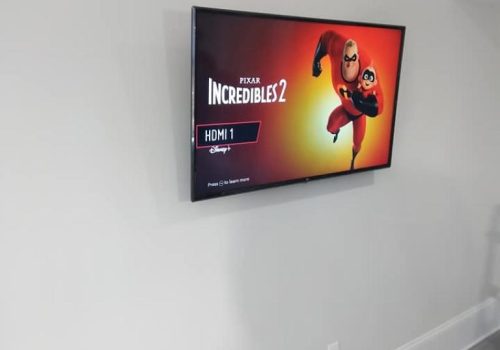
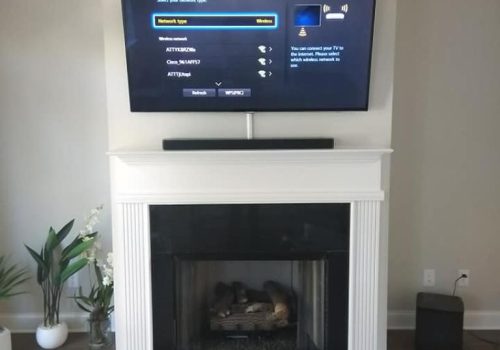
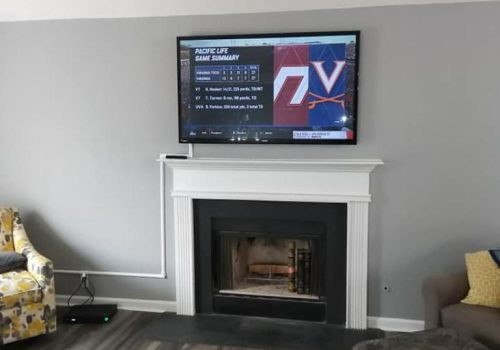
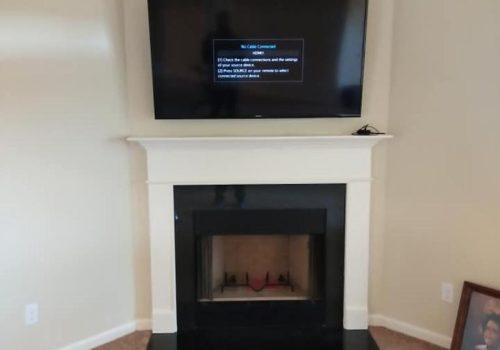
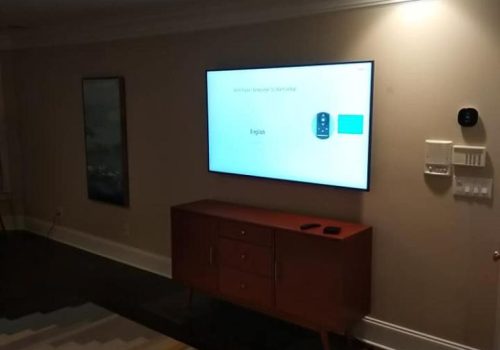
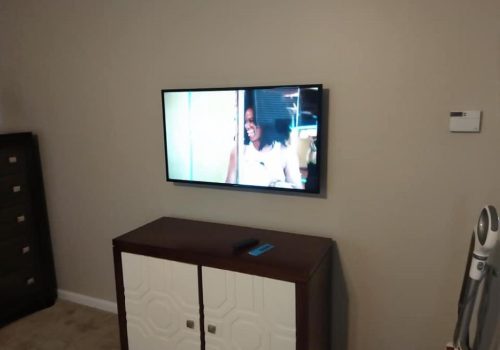
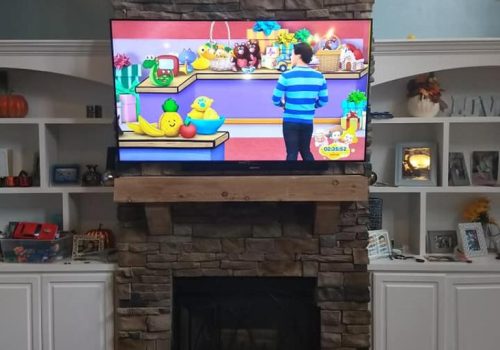
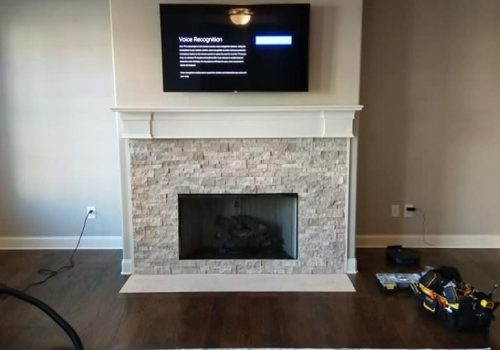
Gallery